On this page
To annotate a website, you attach a comment to a specific place on a live page instead of describing it in an email. There are four ways to do it: circle it on a screenshot, pin it with a browser extension, click it through a feedback script installed on the site, or pin it on a hosted review link that loads the page for you. They differ in who has to install what, and in how much context each note carries without anyone typing it.
What website annotation is
A website annotation is a note tied to a place on a web page: this button, this heading, the gap between these two cards. It exists because position is the hardest thing to describe in words. “The second button in the hero” is ambiguous the moment the hero has two rows of buttons, or the reader is looking at a narrower screen.
The important difference between methods is what the note is anchored to. A mark on a screenshot is anchored to pixels in a picture: accurate on the day, stale once the page changes, and silent about which element in the code it means. A note anchored to the element itself (the actual node in the page) keeps pointing at the right thing at other screen sizes and through later builds, and it hands the developer a selector instead of a picture to interpret.
The four methods at a glance
| Method | Reviewer installs | Site owner installs | Anchored to | Best for |
|---|---|---|---|---|
| 1Marked-up screenshots | Nothing | Nothing | Pixels in an image | A few one-off notes |
| 2Browser extension | The extension, once each | Nothing | The element | Your own team, on sites you do not control |
| 3Script on the site | Nothing | A script tag | The element | Sites you deploy, logged-in areas, phones |
| 4Hosted review link | Nothing | Nothing, on a public page | The element | Clients and stakeholders |
Method 1: marked-up screenshots
No tools beyond the ones your computer already has. It is the right method for three comments on a Friday afternoon, and the wrong one for a review round.
- Open the page at the width you mean. If the problem is on phones, narrow the window or use your browser’s device mode, and note the width.
- Take the screenshot. On a Mac, Shift-Command-4 captures an area and Shift-Command-5 opens the full set of options. On Windows, Windows-Shift-S opens the Snipping Tool. For a whole long page, Chrome’s developer tools can capture a full-size screenshot from the command menu.
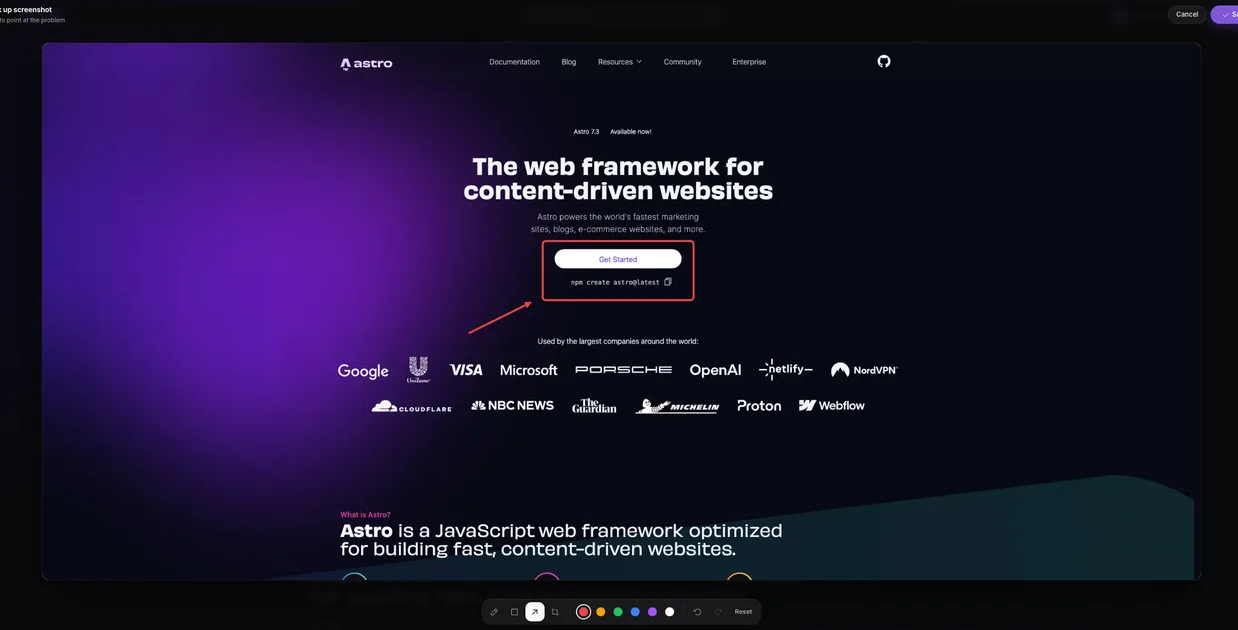
- Mark it up. Draw a box or an arrow on each problem and number the marks. Preview on a Mac and the Snipping Tool on Windows both have pens and shapes.
- Write one note per number. Say what you see and what you expected, and add the page URL, your browser and your screen size, because the image carries none of them.
- Send it where the work is tracked, not only to someone’s inbox.
The weak points are the ones in step 4: every piece of context is typed by hand, the marks point at pixels rather than code, and nothing moves or clicks in a still image. For a hover state or a broken form, record the screen instead (both macOS and the Windows Snipping Tool can) and talk over it.
Method 2: a browser extension
Each reviewer installs a feedback tool’s extension once, then annotates any page they open: click the extension, click the element, type the note. The extension records the page, the element and usually a screenshot and the browser details for you.
- Good at: any site, including ones you cannot deploy code to, with nothing added to the site itself.
- Watch out for: every reviewer has to install it, extensions do not run in most mobile browsers, and some company IT policies block them. Clients are the reviewers least likely to install anything.
Method 3: a script on the site
You add the tool’s script to the site, directly or through a tag manager, and a feedback button appears on the page. Reviewers click it, then click what they mean.
- Good at: nothing for reviewers to install, it works in phone browsers, and because it runs in the reviewer’s own session it works behind a login.
- Watch out for: you need deploy access to every site you review, it puts a third-party script on the site, and on a live site you have to decide who sees the button.
Method 4: a hosted review link
You paste the site’s address into the tool. It loads the page through its own server, adds the annotation layer, and gives you a link to share. Reviewers open the link and click.
- Good at: nothing to install for anyone and no code on the site, which makes it the least friction for clients and stakeholders.
- Watch out for: the page has to be publicly reachable, and a very script-heavy app or a site behind a bot challenge can misbehave when loaded through someone else’s server. Staging behind a password, a VPN or a login needs a snippet on the site instead; see how to share a staging site with a client.
This is how LayerDock works, step by step:
- Create a dock for the site by pasting its URL. A dock is one site, one review workspace and one link.
- Share the review link. Reviewers open it in any modern desktop browser and type their name. No account, nothing to install.
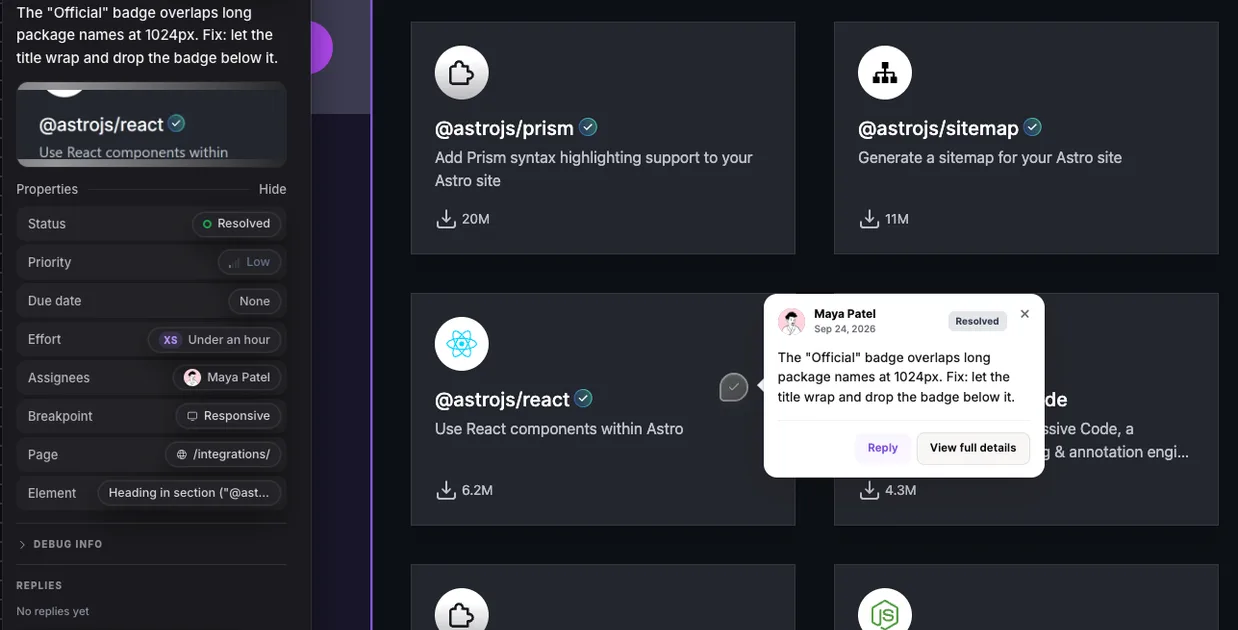
- Click the element and type the note. Each pin records the element, a screenshot, the page URL, the browser and the viewport.
- Mark up the screenshot with a box, an arrow or a freehand line when the shape of the change matters, using the drawing tools.
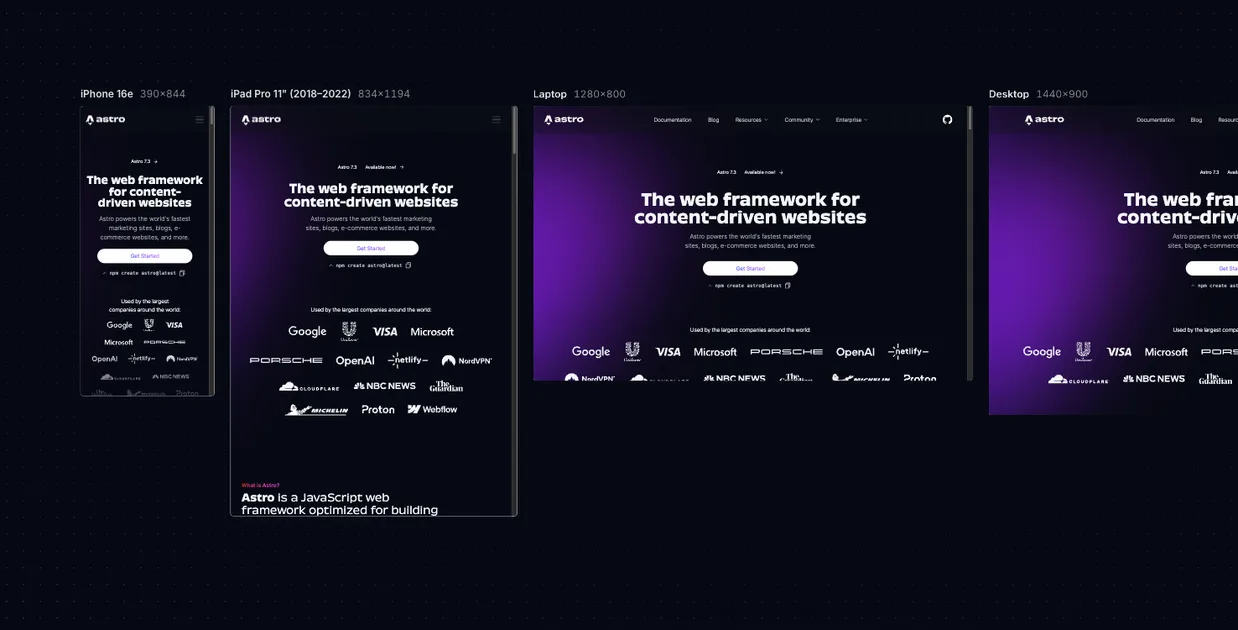
- Switch widths to annotate the tablet or phone layout from the same link, and use Inspect mode to check an element’s real spacing and type before you comment on it.
Try it on any public site without an account.
What a good annotation includes
Whichever method you use, each note should arrive with:
- the element, not a description of where it is;
- a screenshot from the moment it was written;
- the page URL, the browser and the screen size;
- what you see, what you expected instead, and how much it matters;
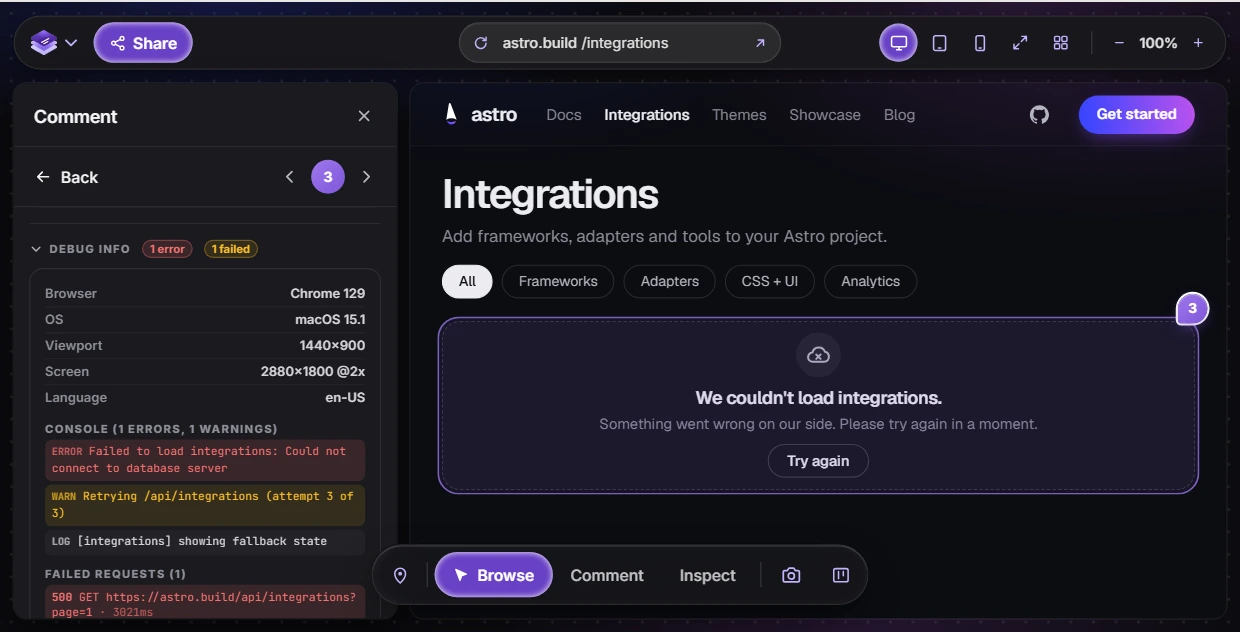
- for anything broken, the console error or failed request behind it.
One issue per annotation, so each can be assigned and closed on its own. The writing half of this, with examples, is in how to give website feedback.
Which method to use
- A handful of notes, once: marked-up screenshots.
- Your own team, on sites you do not control: a browser extension.
- Sites you deploy, feedback from signed-in users or from phones: a script on the site.
- Clients and stakeholders: a hosted review link, with a snippet for private staging.
For named tools in each group, with prices read off each vendor’s own page, see the comparison of 17 website feedback tools.